Mastering Flutter TabBar: Comprehensive Tutorial with Example
In this tutorial, you'll learn:
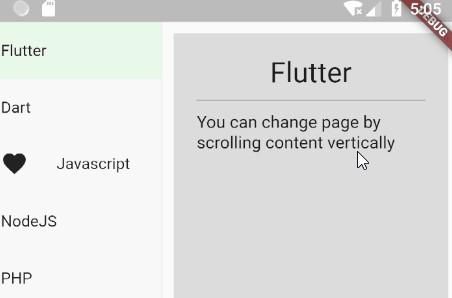
How to create a TabBar
Switching between tabs
Changing the background color for the Flutter TabBar
Creating a TabBar in Flutter:
To implement a TabBar in Flutter, we'll utilize widgets like DefaultTabController, TabBarView, and Tab.
Example
import 'package:flutter/material.dart';
class TabbarExample extends StatefulWidget {
const TabbarExample({Key? key}) : super(key: key);
@override
State<TabbarExample> createState() => _TabbarExampleState();
}
class _TabbarExampleState extends State<TabbarExample> {
@override
Widget build(BuildContext context) {
return DefaultTabController(
length: 3,
child: Scaffold(
appBar: AppBar(
title: const Text("AppMaking.com"),
backgroundColor: Colors.blueGrey[900],
bottom: const TabBar(
tabs: [
Tab(
icon: Icon(Icons.chat_bubble),
text: "Chats",
),
Tab(
icon: Icon(Icons.video_call),
text: "Calls",
),
Tab(
icon: Icon(Icons.settings),
text: "Settings",
)
],
),
),
body: const TabBarView(
children: [
Center(
child: Text("Chats"),
),
Center(
child: Text("Calls"),
),
Center(
child: Text("Settings"),
),
],
),
),
);
}
}
Code Explanation:
- DefaultTabController is used to control navigation between tabs, where we set the default length to 3, indicating the presence of 3 tabs.
- Within the AppBar's bottom property, we declare the TabBar widget containing 3 Tab widgets.
- Inside the Scaffold body, we utilize TabBarView, housing 3 pages corresponding to the tabs.
Changing the Background Color for the Flutter TabBar:
To change the TabBar's background color, simply add a background color to the AppBar.