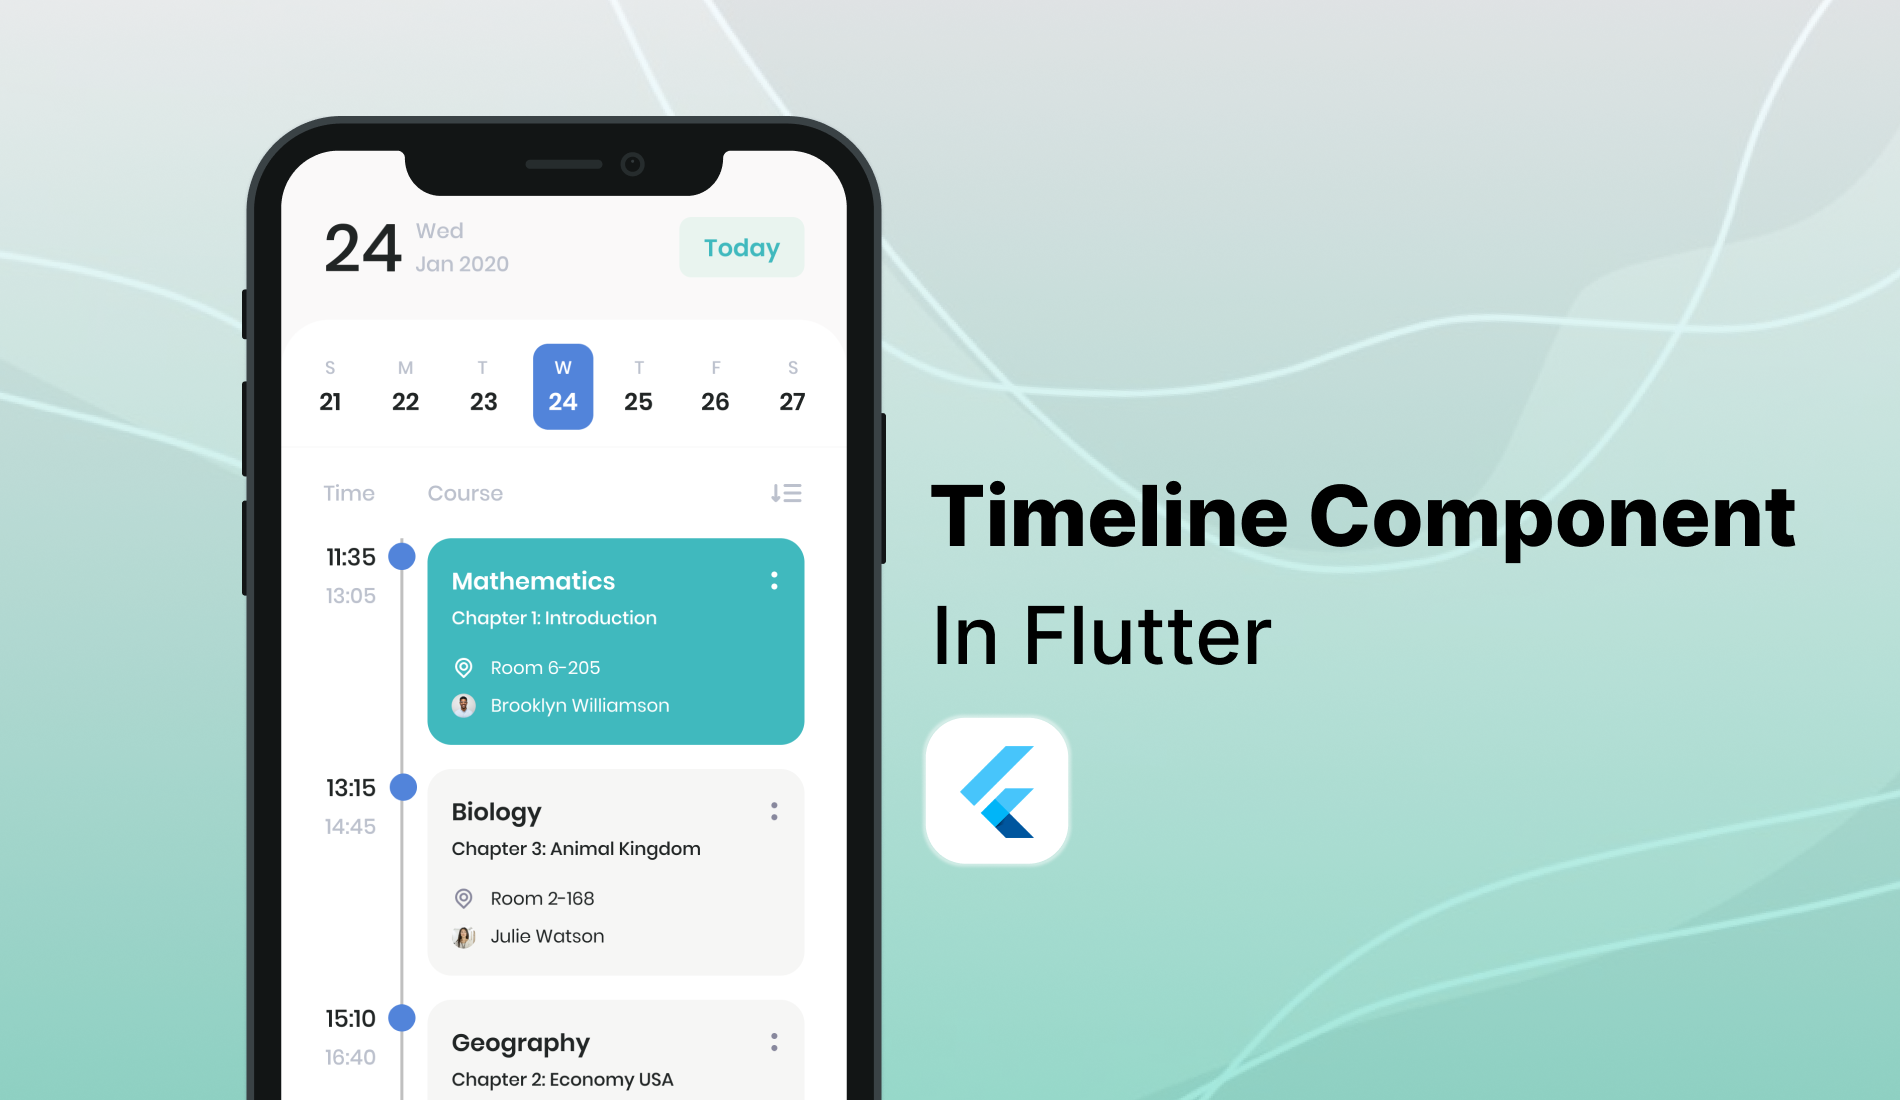
Creating a timeline component in Flutter involves several steps, including defining the structure of the timeline, building the individual timeline items, and arranging these items in a list. Here’s a guide to help you create a simple, vertically scrolling timeline component.
Step 1: Create a New Flutter Project
Run the following command to create a new Flutter project:
flutter create timeline_example
Navigate to the project directory:
cd timeline_example
Step 2: Define the Timeline Item Model
Create a model to represent each item in the timeline. For simplicity, let's assume each item has a date, a title, and a description.
// lib/models/timeline_item.dart

class TimelineItem {
 final DateTime date;
 final String title;
 final String description;
 TimelineItem({
   required this.date,
   required this.title,
   required this.description,
 });
}
Step 3: Create the Timeline Item Widget
Define a widget to display individual timeline items.
// lib/widgets/timeline_item_widget.dart

import 'package:flutter/material.dart';
import '../models/timeline_item.dart';
class TimelineItemWidget extends StatelessWidget {
 final TimelineItem item;
 const TimelineItemWidget({Key? key, required this.item}) : super(key: key);
 @override
 Widget build(BuildContext context) {
   return Padding(
     padding: const EdgeInsets.all(8.0),
     child: Row(
       children: [
         Column(
           children: [
             Container(
               width: 10,
               height: 10,
               decoration: BoxDecoration(
                 shape: BoxShape.circle,
                 color: Colors.blue,
               ),
             ),
             Container(
               width: 2,
               height: 60,
               color: Colors.blue,
             ),
           ],
         ),
         SizedBox(width: 10),
         Expanded(
           child: Card(
             elevation: 4,
             child: Padding(
               padding: const EdgeInsets.all(16.0),
               child: Column(
                 crossAxisAlignment: CrossAxisAlignment.start,
                 children: [
                   Text(
                     item.title,
                     style: TextStyle(
                       fontSize: 16,
                       fontWeight: FontWeight.bold,
                     ),
                   ),
                   SizedBox(height: 8),
                   Text(
                     item.description,
                     style: TextStyle(fontSize: 14),
                   ),
                   SizedBox(height: 8),
                   Text(
                     '${item.date.toLocal()}'.split(' ')[0],
                     style: TextStyle(color: Colors.grey),
                   ),
                 ],
               ),
             ),
           ),
         ),
       ],
     ),
   );
 }
}
Step 4: Create the Timeline Component
Now, create the timeline component that will display a list of TimelineItemWidget.
// lib/widgets/timeline_widget.dart

import 'package:flutter/material.dart';
import '../models/timeline_item.dart';
import 'timeline_item_widget.dart';
class TimelineWidget extends StatelessWidget {
 final List<TimelineItem> items;
 const TimelineWidget({Key? key, required this.items}) : super(key: key);
 @override
 Widget build(BuildContext context) {
   return ListView.builder(
     itemCount: items.length,
     itemBuilder: (context, index) {
       return TimelineItemWidget(item: items[index]);
     },
   );
 }
}
Step 5: Use the Timeline Component in Your App
Finally, use the TimelineWidget in your app’s main screen.
// lib/main.dart

import 'package:flutter/material.dart';
import 'models/timeline_item.dart';
import 'widgets/timeline_widget.dart';
void main() {
 runApp(TimelineApp());
}
class TimelineApp extends StatelessWidget {
 @override
 Widget build(BuildContext context) {
   List<TimelineItem> items = [
     TimelineItem(
       date: DateTime.now().subtract(Duration(days: 1)),
       title: 'Event 1',
       description: 'Description for event 1',
     ),
     TimelineItem(
       date: DateTime.now().subtract(Duration(days: 2)),
       title: 'Event 2',
       description: 'Description for event 2',
     ),
     // Add more items here
   ];
   return MaterialApp(
     home: Scaffold(
       appBar: AppBar(
         title: Text('Timeline Example'),
       ),
       body: TimelineWidget(items: items),
     ),
   );
 }
}
This guide walks you through the process of creating a simple timeline component in Flutter. The timeline consists of a list of items, each represented by a TimelineItem model and displayed using a TimelineItemWidget. The TimelineWidget arranges these items in a vertical list. You can expand this basic structure by adding more features such as horizontal timelines, animations, or interactive elements.